Using custom hook in WordPress through the Bit Integration plugin is a simple process. Bit Integrations is a versatile plugin designed to connect various triggers and actions within an application or software environment. It is a powerful tool for automating processes and integrating different systems or applications. The core functionality of Bit Integrations lies in its ability to seamlessly link specific events (triggers) to corresponding responses (actions).
Well, No idea about triggers and actions? Go through the text below.
What are triggers and actions?
Suppose you want to automatically add a new subscriber to a MailChimp mailing list whenever someone submits their details through a form created with a form builder. In this scenario, The trigger is the submission of the form created using the form builder. Whenever someone actually fills out the form on your website and submits it, this event (the form submission) triggers the automated process.
A trigger is nothing but an event that initiates an automated sequence. It’s the “if” part of an “if-then” scenario.
On the contrary, the action here is adding the submitted details (like name and email) to a specific mailing list in MailChimp. After the form is submitted, the Bit Integration plugin automatically takes the information (like the submitter’s email address) and adds it to your chosen MailChimp list.
The question now is, though, why it matters to use the custom hook feature on a WordPress website. Why use WordPress’ custom hook functionality when you have a ton of action hooks for triggers in your bit integrations?
What Makes a Custom Hook Function Crucial in WordPress?
A custom hook in Bit Integration is a feature that you can configure to perform a specific action or react to a unique event (trigger) that the standard options don’t already address. This customization is crucial because it allows you to adapt the system to meet your specific operational requirements and automate unique processes.
For example, imagine you’re using a form builder that isn’t natively supported by Bit Integration. You could create an action hook that triggers an action in your CRM tool, like automatically creating a new task, whenever a specific event occurs in another application, such as receiving a high-priority email. This level of personalization ensures that your workflow automation is perfectly aligned with your business’s unique needs and practices.
How to Use an Action Hook in WordPress
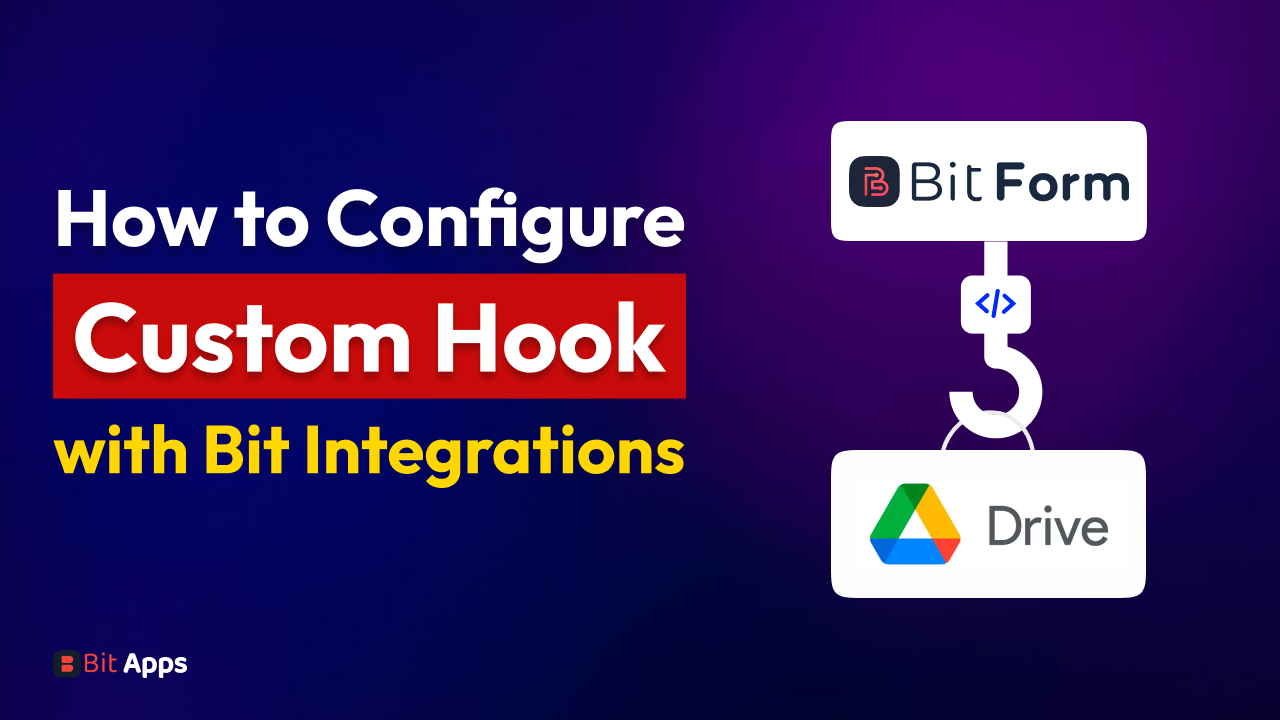
If you want to send data from a submitted form to any CRM or google drive or any platform for business purposes you can do that within a second using Bit Integrations. But what if you want to send data from a form builder not previously integrated by Bit Integrations? Here Bit Integration allows you to add a hook using the Custom Hook features in WordPress.
For instance, let’s say you bought Bit Form Pro and want to add a hook to Bit Form, a form builder plugin that Bit Integration may not have integrated at this time. Thus, an action hook for the Bit Form trigger can be added here by utilizing the custom hook. Bit Integrations makes it really simple. But before that, I will show you how to use an action hook that is already integrated with the Bit Integrations plugin.
Transform the way you handle data and automate processes by seamlessly integrating custom hooks with Bit Integration. Follow these straightforward steps to enhance your operational efficiency:
How to Configure an Action Hook
Here I will show you how to configure an action hook with a form which is automatically integrated before by the Bit integrations. After that, I will show you how to configure an action hook using a custom hook.
Step 1: initiate your integrations
Kick-off by accessing your Bit Integration Dashboard. Start a new journey by clicking the “Create Integration” button. This is your first step towards a smarter workflow.
Step 2: Select Your Desired Action Hook
In the world of Bit Integrations, each action hook is a gateway to new possibilities. Choose the action hook that aligns with your goals from the array of options available.
Step 3: Configure with Kadence Blocks Form
Choose Your Hook: Delve into the dropdown menu and select a hook that fits your needs. For example, “Kadence Blocks Form.
Fetch Data: Click the “Fetch” button to retrieve data related to your selected hook.
Step 4: Submit and Retrieve Form Data
Form Submission: Head over to Kadence Blocks Form, submit your form, and then return to your integration page.
Data Retrieval: Witness the magic as your submitted data appears on the integration page.
Step 5: Value Mapping and Primary Key Identification
Locate Your Value: Click the + icon and explore the “object” section to find your submitted value. Select the value once identified.
Unique Key Selection: Determine a unique identifier for each form entry. This could be a form ID or a PostID. If these aren’t available, craft a hidden field to serve as a unique key.
How to use Custom Hook in WordPress
If you wish to set up an action hook that hasn’t been integrated into Bit Integrations yet, you can do so now. Bit Integration offers you a choice in this situation. Bit Integrations has a custom hook option that you can use in WordPress to add any personalized hook.
Step 1: Select Your Hook
Select “Custom Hook” from the menu. Then copy the hook of the trigger that you want to connect here. for instance, here I am using Bit Form’s hook as a custom hook name “bitform_submit_success.” Just copy it, then paste it here.
Note
By the way, you can find all of the trigger hooks on this page.
Before attaching the trigger’s hook using a custom hook, you must purchase the trigger (such as a form builder).
Step 2: Complete the Integration Process
Final Form Submission: Submit your form via Bit Form and return it to your integration page.
Final Data Retrieval and Setup: Repeat the process of locating your value, selecting it, and setting up a unique key to complete your custom hook setup.
As 2025 comes to a close, it’s time to reflect on an incredible year at Bit Apps. This year wasn’t just about launching new features; it was about truly listening to our users, evolving our products, and delivering powerful solutions that help businesses grow. From Bit Form making form-building smarter to Bit Flows revolutionizing automation […]
Dear WordPress enthusiasts! What an unforgettable experience it was! WordCamp Dhaka 2025 is over, and wow, what an amazing event it was! From beginning to end, the energy, excitement, and community spirit were truly awesome. Bit Apps was proud to be part of this grand event as the Lalbagh Legacy (Platinum) Sponsor of WordCamp Dhaka […]
Black Friday 2025 is finally here, and it’s the best time to give your WordPress website the upgrade it deserves with huge discounts! If you’ve been thinking about improving your site’s design, automating tasks, or adding more functionality, this is the perfect opportunity. This Black Friday, you can grab amazing deals on the best plugins, themes, and automation […]
Cookie Consent
We use cookies to improve your experience on our site. By using our site, you consent to cookies.
This website uses cookies
Websites store cookies to enhance functionality and personalise your experience. You can manage your preferences, but blocking some cookies may impact site performance and services.
Essential cookies enable basic functions and are necessary for the proper function of the website.
Name
Description
Duration
Cookie Preferences
This cookie is used to store the user's cookie consent preferences.
30 days
Cookie Preferences
This cookie is used to store the user's cookie consent preferences.
30 days
Cookie Preferences
This cookie is used to store the user's cookie consent preferences.
30 days
This cookie is set by Cloudflare to help manage bot traffic and protect the website from malicious activity. It does not collect or store any personal data and is used solely for security and performance purposes.
Contains information about the traffic source or campaign that directed user to the website. The cookie is set when the GA.js javascript is loaded and updated when data is sent to the Google Anaytics server
6 months after last activity
__utmv
Contains custom information set by the web developer via the _setCustomVar method in Google Analytics. This cookie is updated every time new data is sent to the Google Analytics server.
2 years after last activity
__utmx
Used to determine whether a user is included in an A / B or Multivariate test.
18 months
_ga
ID used to identify users
2 years
_gali
Used by Google Analytics to determine which links on a page are being clicked
30 seconds
_ga_
ID used to identify users
2 years
_gid
ID used to identify users for 24 hours after last activity
24 hours
_gat
Used to monitor number of Google Analytics server requests when using Google Tag Manager
1 minute
__utmt
Used to monitor number of Google Analytics server requests
10 minutes
__utmb
Used to distinguish new sessions and visits. This cookie is set when the GA.js javascript library is loaded and there is no existing __utmb cookie. The cookie is updated every time data is sent to the Google Analytics server.
30 minutes after last activity
__utmc
Used only with old Urchin versions of Google Analytics and not with GA.js. Was used to distinguish between new sessions and visits at the end of a session.
End of session (browser)
_gac_
Contains information related to marketing campaigns of the user. These are shared with Google AdWords / Google Ads when the Google Ads and Google Analytics accounts are linked together.
90 days
__utma
ID used to identify users and sessions
2 years after last activity
Clarity is a web analytics service that tracks and reports website traffic.