Did you know that over 70% of job seekers prefer applying online?
However, nearly 92% of them don’t finish their applications because the forms are often too complicated or confusing to complete. A well-designed job application form on the WordPress site will attract top candidates. First impressions matter. a well-designed job application form shows your company’s professionalism and values.
In this article, we will show you how to create a simple and effective job application form in WordPress using the Bit Form plugin.We’ll also explain the importance of a good form and its benefits, and share tips for getting the form right.
In this article:
Why a Good Job Application Form Matters
1. Make Hiring Easier
A user-friendly job application form would allow you to get all the information needed from applicants in one place. This will save you time and help to categorize and review applications.
2. Show Professionalism
A neat and organized application form shows that your company is professional, indicating that you carefully choose candidates who could effectively take on the roles of current employees.
3. Gather Useful Data
When you use a great application form, applicants answer all of your questions for you, things like their work history and what skills they have. Also, allows you to drill down on this data for better hiring choices.
Benefits of Using the Bit Form Plugin
The Bit Form plugin is great for making any type of advanced forms on WordPress. You can add all the essential fields needed to make a professional and advanced job application form on your WordPress site. Here’s why:
Easy to Use
Bit Form is simple to use. You don’t need to know any code. Just you need to drag and drop the fields and build your form. Also, you can easily style and customize the form.
Customizable
You can add different types of fields to your form, like text boxes, dropdowns, and file upload options. Bit Form has 40+ fields including some unique fields like signature fields, repeater fields, payment fields, and more. This lets you ask the right questions and get the information you need.
Connects with Other Tools
Bit Form can work with other tools, like email services and CRM systems, making managing the information you collect easy. Currently, Bit Form has integrations with 47+ important tools.
Works on All Devices
Forms made with Bit Form look good on all devices, whether it’s a computer, tablet, or phone. This means candidates can apply from anywhere, any device.
Advanced Features
The plugin includes helpful features like multi-step forms and conversation forms, making the application process smoother for everyone.
Steps to Create a Multi-step Job Application Form
Follow these steps to create your simple job application form. Here, we will create a multi-step job application form.
Step 1: Install and Activate Bit Form
To install the Bit Form plugin on WordPress, first log in to your WordPress admin dashboard. Next, go to the “Plugins” section and click on “Add New.” In the search bar, type “Bit Form” and hit Enter. When you see Bit Form in the search results, click “Install Now” and then “Activate” to start using the plugin.
Step 2: Create a New Form
To create a new form in Bit Form, start by going to your dashboard and clicking on “Bit Form.” Then, select “Add New” to begin creating your form. You can either choose a template or start building your form from scratch. You can also use pre-built job application template.
Step 3: Add Form Fields
To create a job application form you may need the following fields:
Personal Information: Name, Email, Phone Number
Position Applied For: Dropdown or radio buttons including all position’s name
Resume Upload: Field for PDF submission or doc file upload.
Cover Letter: Text area for writing
Work Experience: Space to list previous jobs.
Electronic Signature: Sign digitally using your mouse, touchscreen, or a digital pad.
Let’s add all the fields and create a simple job application form WordPress. We will make a multi-step form and include 4 steps.
In the first step, we will add Name, Email, Phone Number, and Position fields (Dropdown field with multiple options). To add all these fields just drag the field from the left side and drop it on the editor.
After adding the fields you may need to rename the placeholder or label and need to add a subtitle or helper text. With Bit Form you can easily do these just following some simple steps.
Let’s work on the dropdown field. After adding the dropdown field change the filed label and subtitle.
And now we have to add options to the dropdown. To add options click on the Edit List Options icon. (Scroll down to get this option)
After clicking on the Edit List Options icon, A popup will show where you can edit the options label and Add More + option to the dropdown list.
Step 4: Add Multi-step to Your Form
If you add all the fields on a single-step form the form could be long in height and doesn’t look well. Here’s a multi-step form that helps to minimize and organize the form.
To add step just click on the + icon on the top (Beside Step-1). You can create as many steps as you need. Let’s create 4 steps under the name
Step-1 Personal Information
Step-2 Work Experience
Step-3 Resume Upload
Step-4 Signature
You can easily rename the step label and step subtitle. Also, you can hide the subtitle if you don’t need it. Here we will hide the subtitle by disabling the subtitle button. Rename all the step labels and add fields on the other steps.
In the second step (work experience) we will add a repeater field. Repeater field will help the user to input the same group data multiple times. Like previous job experience and educational qualifications. After adding the repeater field drag and drop the required field into the repeater field section. You can follow the guide to add a repeater field to your WordPress form.
Add a subtitle to your repeater field to inform your candidates that he/she can add multiple job experiences by clicking on the + icon.
Also, you can limit the minimum and maximum repeater fields creations. To do that click on the repeater field and you will get the Repeatable Row Count(Min/Max) option.
In step 3 we will add a Multiline Text field and Advanced File Upload field. You can control the file type and minimum or maximum file upload size.
And now we will add a digital Signature field in the final step.
We are now on the final step but we don’t have a submit button here. So we have to add a submit button for the form submission. Bit Form creates a submit button automatically when you create a form. So remember we had a submit button on the first step. Let’s move the submit button to the final step.
To do that click on the submit button and click on the down arrow sign> Move to> Step #4
You can move any field to any step like this.
Let’s make the submit button full-width to make the form more attractive.
Step 5: Publish Your Form
Now, save your form and preview it, to check if everything looks fine and works as expected. After everything is complete, you can embed this form using the form shortcode Bit Form has exported on your job application page or another part of your website. To get the shortcode click on the Publish button. Here is the preview of the form that we have created
Job Application Form
Tips for Creating a Great Form
Keep it Simple: Ensure your form is easy to fill out. A difficult form will drive away potential applicants.
Device Compatibility: Check whether the form is running well on mobile devices like phones and tablets.
Secure Data: Ensure that you manage candidate information in a secure manner and in respect to privacy legislation. Use reCAPTCHA to prevent spamming and getting actual submissions.
Share Detailed Instructions: Applicants must be told exactly what type of information is required and how to present it.
Update Regularly: Update your form when jobs are posted with one of your companies or any changes to the application process.
Conclusion
Creating a multi-step job application form with the Bit Form plugin on WordPress is a straightforward way to improve your hiring process. With Bit Form’s easy-to-use features, you can build a form that collects all the information you need and looks great on any device.
A job application form that is better designed will make your hiring process run smoothly and it makes you look good. Following the steps and tips in this guide, you can create a form that works just as well for your applicants. Get your form out there and see your hiring process change drastically tomorrow!
For more details, join the Bit Form Facebook Community for tips and advice from fellow users and developers. Need help? Reach out via email or live chat for quick support.
He writes about WordPress, SEO, automation, and SaaS with hands-on experience. He creates tutorials, comparisons, and practical content by understanding real use cases, search intent, and AI visibility.
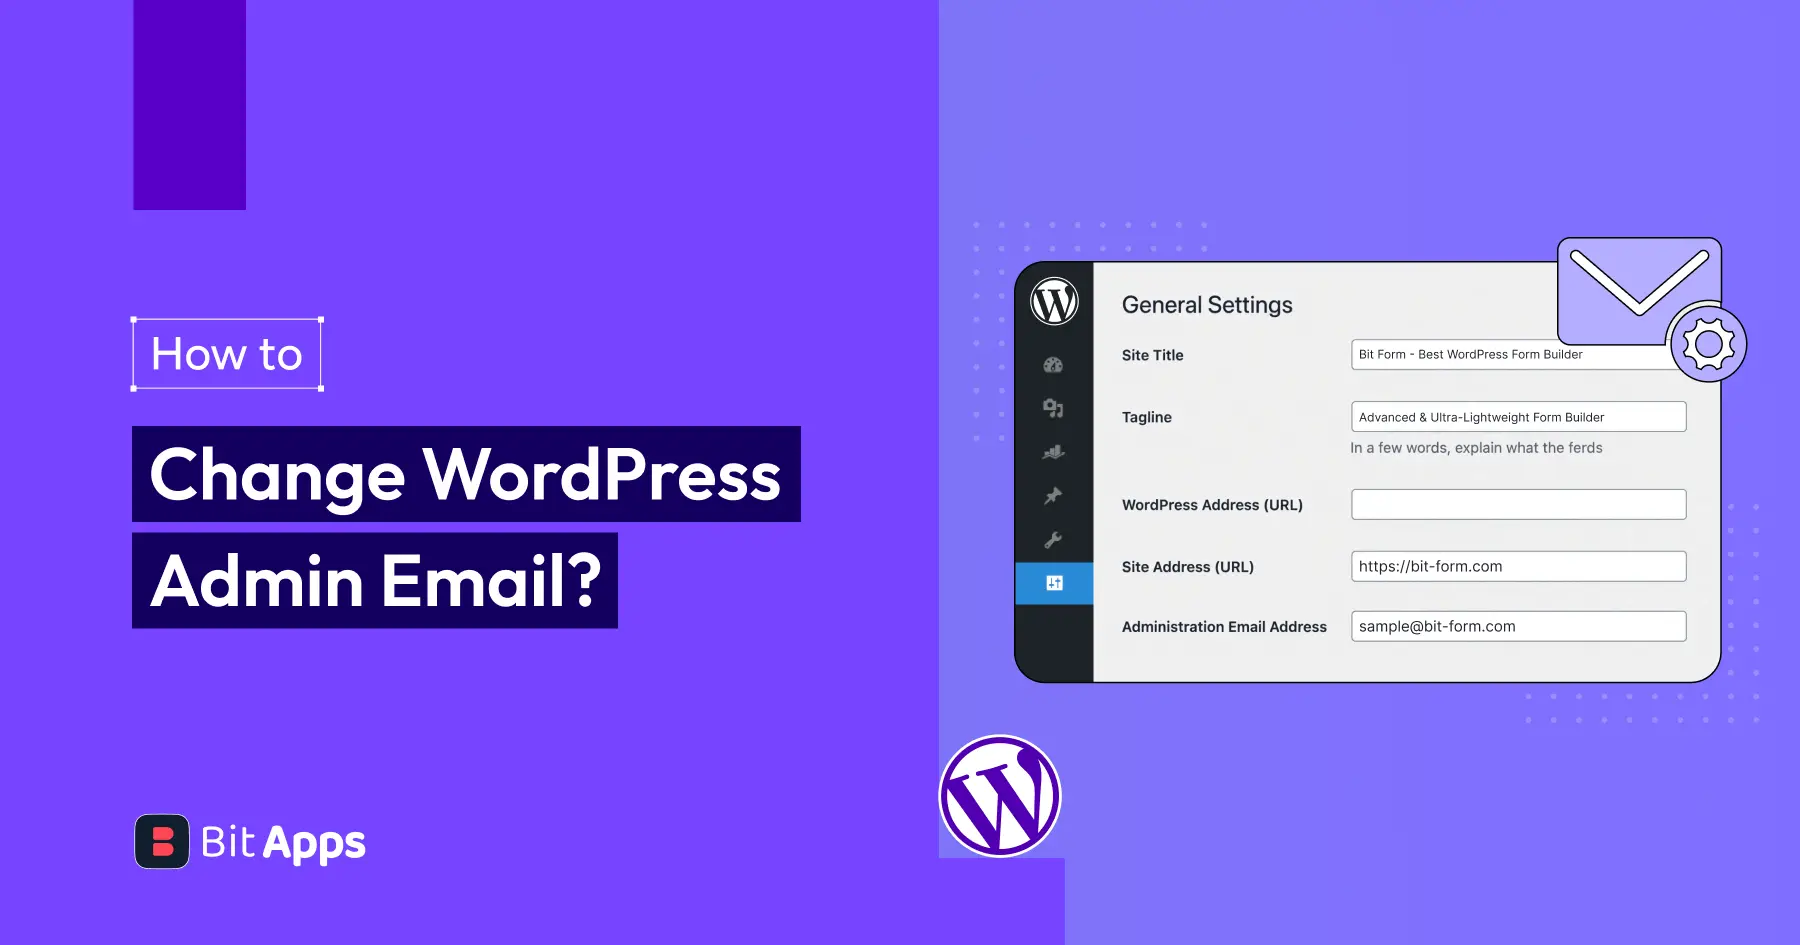
Many WordPress users need to change their admin email for different reasons. Sometimes you lose access to your old email. Sometimes it gets hacked. And when that happens, you stop receiving important emails, like password reset links, security alerts, or update notifications. That can be a big problem. Another common reason is switching to a […]
WPForms Lite users often face a common problem. The free version does not store form entries in the dashboard. Instead, it only sends submissions by email. This means you cannot view or manage entries inside WordPress. This setup can quickly become frustrating. Important emails may land in spam or get lost. Without upgrading to Pro, […]
AI is changing how WordPress websites create content and automate daily tasks. But many website owners still struggle to connect powerful AI tools without paying extra or dealing with complex setups. While many creators are still stuck in the “copy-paste” loop with AI tools, WordPress Gemini Plugin is revolutionizing how websites use artificial intelligence to […]
Cookie Consent
We use cookies to improve your experience on our site. By using our site, you consent to cookies.
This website uses cookies
Websites store cookies to enhance functionality and personalise your experience. You can manage your preferences, but blocking some cookies may impact site performance and services.
Essential cookies enable basic functions and are necessary for the proper function of the website.
Name
Description
Duration
Cookie Preferences
This cookie is used to store the user's cookie consent preferences.
30 days
Cookie Preferences
This cookie is used to store the user's cookie consent preferences.
30 days
Cookie Preferences
This cookie is used to store the user's cookie consent preferences.
30 days
This cookie is set by Cloudflare to help manage bot traffic and protect the website from malicious activity. It does not collect or store any personal data and is used solely for security and performance purposes.
Used to monitor number of Google Analytics server requests
10 minutes
__utmb
Used to distinguish new sessions and visits. This cookie is set when the GA.js javascript library is loaded and there is no existing __utmb cookie. The cookie is updated every time data is sent to the Google Analytics server.
30 minutes after last activity
__utmc
Used only with old Urchin versions of Google Analytics and not with GA.js. Was used to distinguish between new sessions and visits at the end of a session.
End of session (browser)
__utmz
Contains information about the traffic source or campaign that directed user to the website. The cookie is set when the GA.js javascript is loaded and updated when data is sent to the Google Anaytics server
6 months after last activity
__utmv
Contains custom information set by the web developer via the _setCustomVar method in Google Analytics. This cookie is updated every time new data is sent to the Google Analytics server.
2 years after last activity
__utmx
Used to determine whether a user is included in an A / B or Multivariate test.
18 months
_ga
ID used to identify users
2 years
_gali
Used by Google Analytics to determine which links on a page are being clicked
30 seconds
_ga_
ID used to identify users
2 years
_gid
ID used to identify users for 24 hours after last activity
24 hours
_gat
Used to monitor number of Google Analytics server requests when using Google Tag Manager
1 minute
_gac_
Contains information related to marketing campaigns of the user. These are shared with Google AdWords / Google Ads when the Google Ads and Google Analytics accounts are linked together.
90 days
__utma
ID used to identify users and sessions
2 years after last activity
Clarity is a web analytics service that tracks and reports website traffic.