A multi step form is a form that breaks down the input fields into several sections or pages, typically with “Next” and “Previous” buttons to navigate between them. Rather than presenting the user with one long form, the information is gathered in a sequence of smaller, more digestible steps.
This design can be seen in various online processes, from registration workflows to checkout procedures.
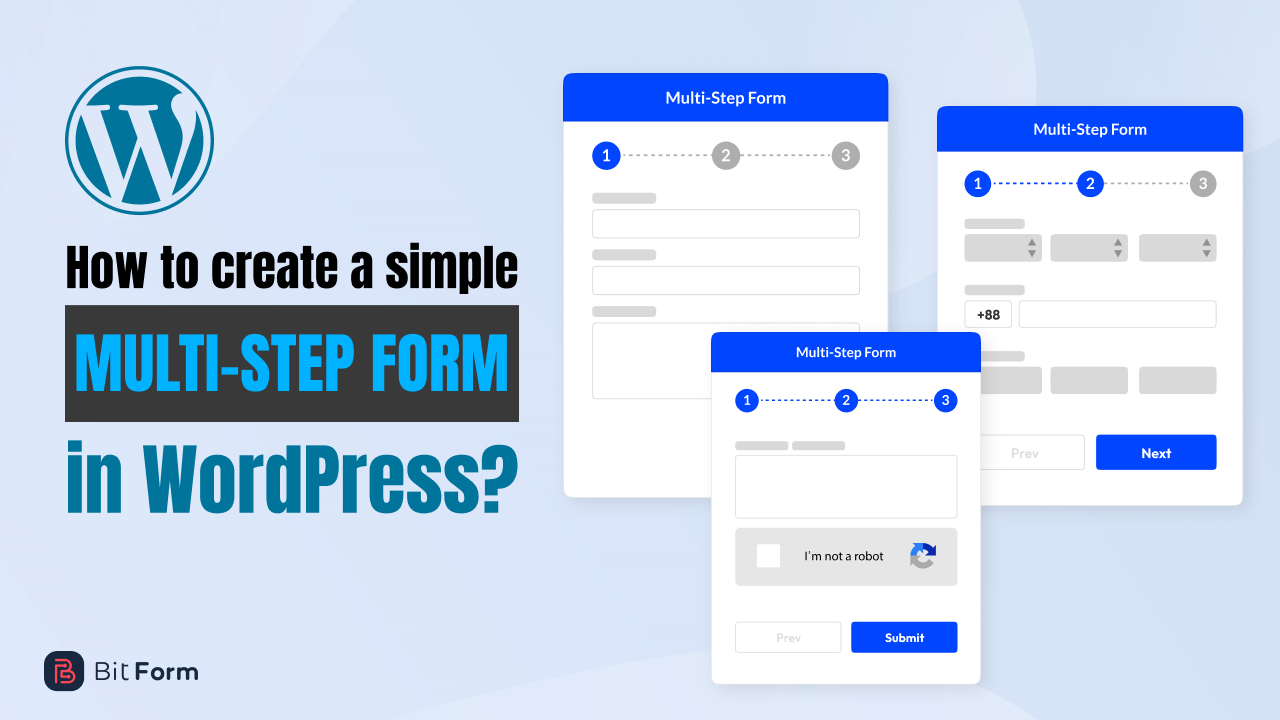
Creating a multi step form in WordPress can help enhance the user experience, especially for lengthy forms. Breaking them up into smaller steps can make them seem less daunting and increase completion rates.
Before learning about multi step forms, it is important to understand when they are genuinely necessary.
When to Consider Using Multi Step Forms
Lengthy Forms: If a form is long and asks for many details, breaking it into sections can make it more user-friendly.
Complex Processes: For processes like online shopping checkout, loan applications, or detailed surveys, multi step forms can help guide the user through the required stages.
Conditional Requirements: If you need to gather different sets of information based on previous answers, a multi step format is ideal.
Engagement Tracking: If you want to see at which step users drop off most frequently, multi step forms can provide those analytics. I love to see it.
Here are the steps to create a multi step form in WordPress. Let’s make an example with the Bit Form plugin.
How to create a multi step form In WordPress
There are many WordPress form builder plugins available that can help you create a multi step form in WordPress. Among them, Bit Form is the most advanced contact form builder for WordPress. You can easily install Bit Form and make an eye-catching multi step form in WordPress to get a better user experience. You may look atall the features of the bit form to have a better knowledge of it.
This form builder plugin will be the finest choice for you whether you’re a beginner or an experienced user because it offers a lot of premium access for free. And if you want to get Bit Form Pro, it starts from only $29, far less than any other form builder plugin.
However, go back to the point. After installing and successfully activating it, you will see the Bit Form plugin in your WordPress dashboard.
Step 1: When you click the Bit Form plugin, you will be sent to a page similar to the one below. A “Create First Form” button will appear. To create your first multi step form in WordPress with Bit Form, click on it.
Step 2: A page with three choices will appear when you click on this button. Click “Contact Form” if you require a straightforward contact form. However, you can select the “Blank” option to create a multi step form with different fields.
Step 3: You must select the builder option after selecting it, where you will see a screen similar to the one below. The name of your multi step form must be entered here. For a quick and simple multi step setup, you can view 40+ fields here. Bit Form is a straightforward drag-and-drop plugin. Clicking or dragging from the left side is required.
By the way, we will design a multi step form in WordPress that is given below.
Step 4: On the left side you will see a search bar where you can find out whatever you want to input. For example, email field, username field, contact number field and so many others.
Step 5: Next, drag or click the user name field. You can move, style, set, clone, and remove the field. You may relocate your field using these choices, remove it using the style option, or copy it. In “more options” you can take the particular field from one step to another step. You can resize your field and adjust it with another field in a single row.
Step 6: When you click on any specific field, you will see a field setting portion on the right side, you can change place holder, label name, leading icon and so many other things.
Step 7: Now change the label name and placeholder name if you want.
Step 8: Similar to that, add other fields as needed. such as an email address, a nation, a phone number, and many others. The first step has been completed. Now by selecting the ‘+’ symbol here, you can make this simple contact form to multi step form.
Step 9: Now add the country field, phone number field and check box field from the field section on your left side.
Step 10: When you click on the check box field, the field setup section I previously showed you will appear on the right side. Therefore, you must modify the label’s name here. then you must include the options name of the checkbox field.
Now click the “add/edit options” button and fill every field with the necessary information. Now close this page. It’s now time to move on to step 3. So move to step 3 by clicking the “+” sign once again.
Step 11: Add your payment options like Paypal, Stripe and RazorPay in the final step in a similar manner. don’t worry these three payment systems are already integrated into Bit Form. All you have to do is set them with your credentials. The Bit Form builder plugin makes the procedure quite easy. Eventually, you can add these three payment methods in your multistep form using conditional logic. As you probably already know, adding payment options is essential, especially for e-commerce websites.
If you don’t need to include the option for advanced payment, you can disregard it and fill step 3 with the settings you wish. To complete the step, you must include a submit button in the very last step.
However, you won’t need to include a submit button if you add the payment option in the last stage. This form will automatically be filled out as soon as your payment is received.
Now the question is how you will add this multi step form into your WordPress contact page. I am giving a solution for you. Read the one immediately below.
How to add a multi step form in WordPress
In the case of Bit Form, it is effortless to add your multi step form to your WordPress. Just follow the steps
Actions:
When you click on the publish button, you will see a short code. Just copy this shortcode.
Go to your WordPress dashboard and go to the page where you want to add this multi step Form. And here you can directly paste this shortcode where you want to put this multi step form. Now click on update, if you are in the editing mood. Then view this page and see your multi step form.
So easy to add a multi step form with the Bit Form plugin to your WordPress site. If you want to change the color of any specific field and button you can do it. You have to just click on this specific field and then go to the theme customization option.
There are now several choices for styling your form to appear profitable on the left side, including form wrappers, form containers, label containers, and more. When you click on them, you will see choices to modify the font, background color, border, and other elements on the right side. You don’t have to worry about which choice is for whatever element because Bit Form has a highlighter.
Benefits of Using a Multi Step Form
Enhanced User Experience: Long forms can be daunting. Breaking them into smaller sections can make them feel more manageable and less overwhelming. Each step can be clearly labeled to give users a clear understanding of the process.
Increased Conversion Rates: By making the process seem less daunting, users are more likely to start and complete the form. Also, if a user begins filling out the form, they’re more likely to complete the remaining steps due to the psychological principle of commitment.
Conditional Logic: Multi step forms can be set up in a way that subsequent steps depend on the answers given in previous steps. This dynamic adjustment means users only see relevant sections, making the process more streamlined.
Better Data Organization: Breaking down a form into sections can help in organizing data better, both for the user (in terms of input) and for the business (in terms of data analysis).
Lower Abandonment Rates: If users are unsure about a specific field in a long-form, they might abandon the entire form. But with multi step forms, they might complete the initial steps, giving you partial data and a point of contact.
Progress Indication: Multi step forms often come with progress indicators, letting users know how far they are in the process. This can be encouraging and help set expectations about how much time the form might take.
Error Management: Multi step forms can provide immediate feedback if something is filled out incorrectly in a particular step, allowing users to correct errors on the spot without being overwhelmed by errors from a long list of fields.
Wrapping Up
However, it’s essential to note that multi step forms aren’t suitable for every scenario. If your form is short and straightforward, introducing multiple steps might overcomplicate the process and deter users. Always consider the user experience and the form’s purpose when deciding on its format.
As 2025 comes to a close, it’s time to reflect on an incredible year at Bit Apps. This year wasn’t just about launching new features; it was about truly listening to our users, evolving our products, and delivering powerful solutions that help businesses grow. From Bit Form making form-building smarter to Bit Flows revolutionizing automation […]
Dear WordPress enthusiasts! What an unforgettable experience it was! WordCamp Dhaka 2025 is over, and wow, what an amazing event it was! From beginning to end, the energy, excitement, and community spirit were truly awesome. Bit Apps was proud to be part of this grand event as the Lalbagh Legacy (Platinum) Sponsor of WordCamp Dhaka […]
Black Friday 2025 is finally here, and it’s the best time to give your WordPress website the upgrade it deserves with huge discounts! If you’ve been thinking about improving your site’s design, automating tasks, or adding more functionality, this is the perfect opportunity. This Black Friday, you can grab amazing deals on the best plugins, themes, and automation […]
Cookie Consent
We use cookies to improve your experience on our site. By using our site, you consent to cookies.
This website uses cookies
Websites store cookies to enhance functionality and personalise your experience. You can manage your preferences, but blocking some cookies may impact site performance and services.
Essential cookies enable basic functions and are necessary for the proper function of the website.
Name
Description
Duration
Cookie Preferences
This cookie is used to store the user's cookie consent preferences.
30 days
Cookie Preferences
This cookie is used to store the user's cookie consent preferences.
30 days
Cookie Preferences
This cookie is used to store the user's cookie consent preferences.
30 days
This cookie is set by Cloudflare to help manage bot traffic and protect the website from malicious activity. It does not collect or store any personal data and is used solely for security and performance purposes.
Used to distinguish new sessions and visits. This cookie is set when the GA.js javascript library is loaded and there is no existing __utmb cookie. The cookie is updated every time data is sent to the Google Analytics server.
30 minutes after last activity
__utmc
Used only with old Urchin versions of Google Analytics and not with GA.js. Was used to distinguish between new sessions and visits at the end of a session.
End of session (browser)
__utmz
Contains information about the traffic source or campaign that directed user to the website. The cookie is set when the GA.js javascript is loaded and updated when data is sent to the Google Anaytics server
6 months after last activity
__utmv
Contains custom information set by the web developer via the _setCustomVar method in Google Analytics. This cookie is updated every time new data is sent to the Google Analytics server.
2 years after last activity
__utmx
Used to determine whether a user is included in an A / B or Multivariate test.
18 months
_ga
ID used to identify users
2 years
_gali
Used by Google Analytics to determine which links on a page are being clicked
30 seconds
_ga_
ID used to identify users
2 years
_gid
ID used to identify users for 24 hours after last activity
24 hours
_gat
Used to monitor number of Google Analytics server requests when using Google Tag Manager
1 minute
__utmt
Used to monitor number of Google Analytics server requests
10 minutes
_gac_
Contains information related to marketing campaigns of the user. These are shared with Google AdWords / Google Ads when the Google Ads and Google Analytics accounts are linked together.
90 days
__utma
ID used to identify users and sessions
2 years after last activity
Clarity is a web analytics service that tracks and reports website traffic.