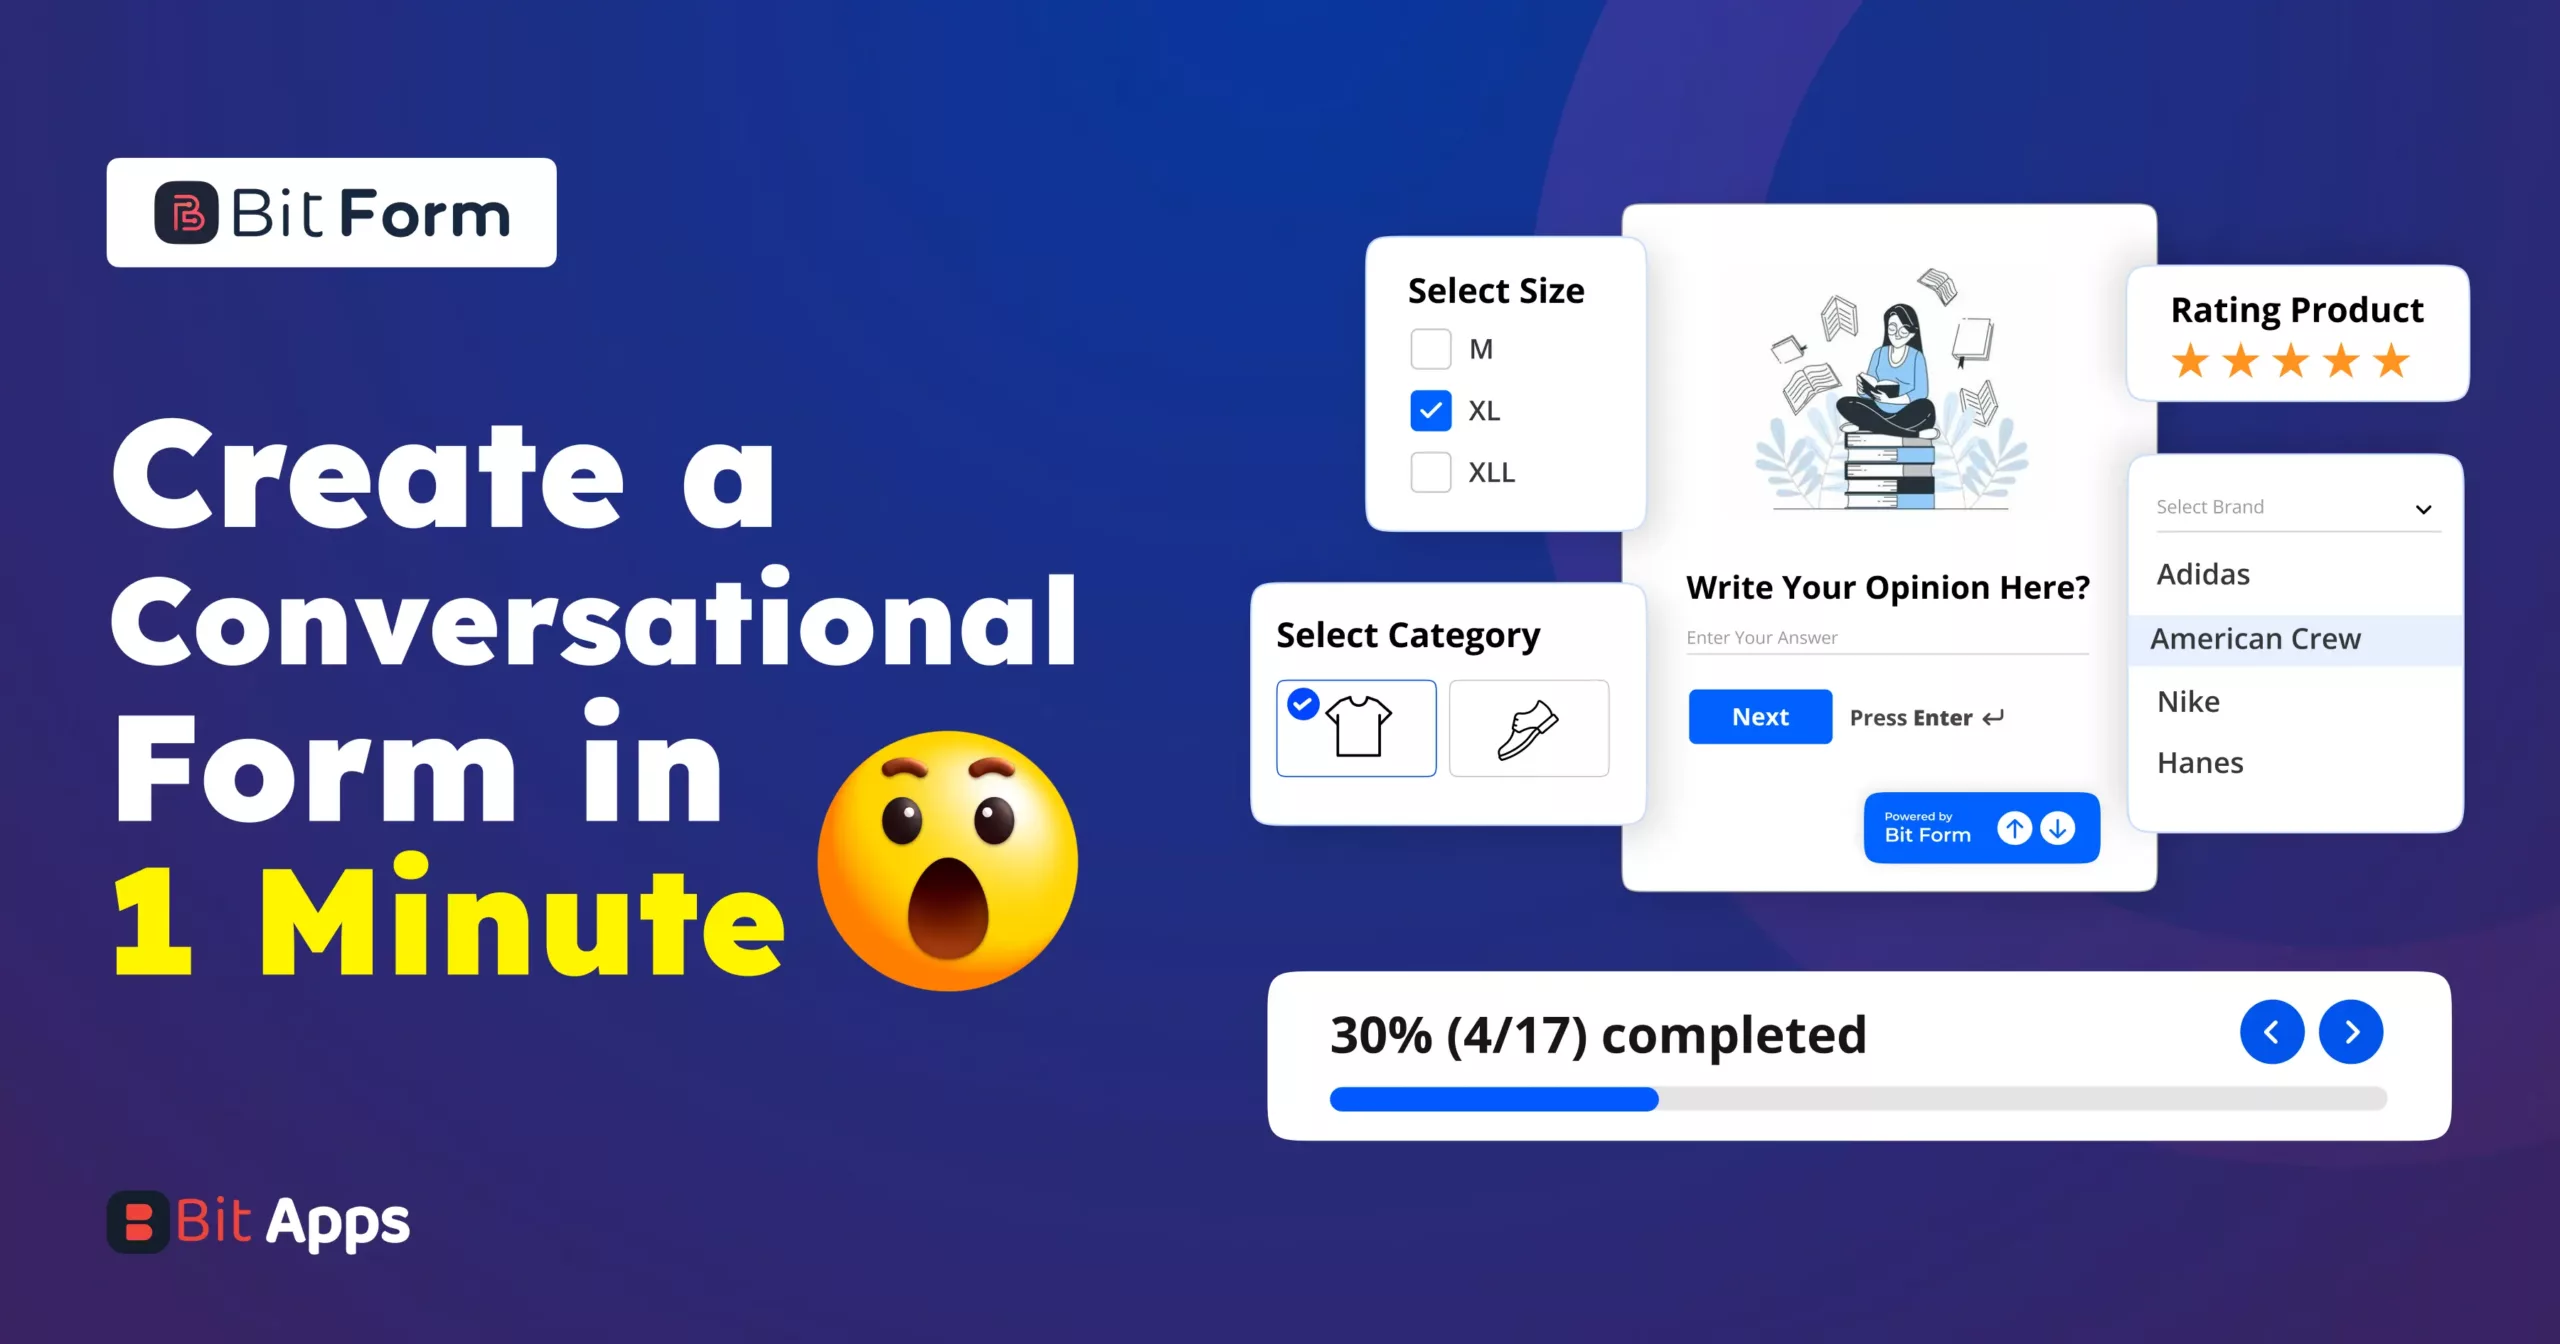
Conversational forms are a fantastic way to improve user experience on your WordPress website. Unlike traditional forms, they make data entry feel more like a natural conversation, often leading to increased form completion rates.
Conversational forms redefine the way we think about online forms. Traditionally, a form consists of a list of fields that users must fill out all at once, creating a tedious and impersonal experience. Conversational forms, on the other hand, mimic a natural, two-way dialogue, presenting one question at a time in a friendly and engaging manner. Well, the problem is that creating a conversational form in WordPress with a complex form builder is a bit difficult. The easiest way to create a WordPress conversational form is to use the Bit Form plugin, an advanced contact form builder with outstanding features and a simple UI. It just takes 2 to 3 minutes to complete a conversational form.
Well, let’s hit the direct point. Yes, it is so easy to create a conversational form in WordPress but why not make a simple traditional contact form? What is the comparison between the conversational form and the traditional contact form? How you will benefit after using a conversational form. I will discuss it and also show you how to create a WordPress conversational form easily.
Benefits of conversational form on your website
The benefits of conversational forms are manifold. They create a more personalized user experience, making users feel like they’re conversing rather than filling out a form. This approach can lead to higher engagement rates, as users often find it less overwhelming and more enjoyable. Additionally, conversational forms can improve data accuracy, as the one-question-at-a-time format allows users to focus and provide thoughtful responses.
Comparison between Conversational and Traditional Forms
The primary difference between conversational and traditional forms lies in user interaction. Traditional forms display all questions simultaneously, which can be daunting, especially if the form is lengthy. Users might feel overwhelmed or bored, leading to form abandonment or inaccurately filled fields.
Conversational forms, in contrast, break down the process into digestible, engaging steps. This makes the form seem shorter and helps keep the user’s attention focused on one question at a time, reducing the likelihood of errors and incomplete submissions.
For example, if you have a form with three fields like this one. This could be more interactive so users feel a little bit bored while filling it up.
On the contrary, watch this form, it seems interactive, digestive, and attractive. Users feel a bit interested while filling it up. You can make more interactive and attractive conversational forms if you want. I am just showing you a simple one. Look at the below one.
How to Create a WordPress Conversational Form
You have to go through 3 simple steps and some instructions to create a WordPress conversational form.
Step1: Choose a plugin and install and activate it
To create a conversational form, you have to install and activate a form builder plugin. I recommend you install the BitForm plugin. I can guarantee that you will be amazed to see the price of this bit-form plugin.
Step 2: Create a form that you want to make it conversational
At first, you have to make a form, and then you have to turn it into a conversation. By the way, this is a super easy drag-and-drop form builder. You can see 40+ text fields on the left side.
Whenever you click on any specific field, a style editor option appears on the right side. You can change the label name, placeholder, and as many as you need. So at first, create this kind of form, and then you have to turn on the conversational form settings to make this form conversational.
Step3: Turn On conversational form and then make it
Now go to the settings > conversational form > turn on Conversational Form Settings. Here you can see 3 important settings options
Theme setting
Conversational Steps settings
Navigation
Let me introduce you to these three settings options:
Theme settings: Here you can change the accent color, page background, label text and input color.
Conversational step settings: Basically, in this section, we will design and add some interactive images, write a welcome note, and edit the start and next buttons to make this form more interesting and attractive. I will show it with some instructions; all you have to do is follow my instructions. Let’s start.
Instruction 1: In the Step List drop-down box, you will find all the fields that you have chosen in Step 2. Select the “welcome page” from the drop-down box. Then change the layout.
Instruction 2: Select any option you wish from the layout box. When you select anyone among them, a layout image option will appear. To make this form more attractive, you can select an image only for the welcome page. Also, you can change the title and paragraph text if you want.
Instruction 3: Now again, select another field from the Step List drop-down box, as I showed you here. Do exactly the same thing that you have been instructed to do in Instruction Number 2. Just change the layout and select an image as you wish.
Instruction 4: Now select the Step-2 Email text field from the Step List drop-down box and do the exactly same things that you have done with Instruction 2.
Instruction 5: Now similarly select the course field from the Step List drop-down box and change the layout. That’s it; you are all done.
How to add this conversational form to the WordPress Website
It is so easy to add this conversational form to your WordPress website. All you have to do is copy the short code and go to the page where you want to put this form.
Click on ‘+’ button > shortcode (search shortcode in the search bar)
Now, paste the shortcode here. and then press the publish button. That’s it. You can see the form on your WordPress website.
Wrap up
There are lots of form builders on the market that you can use to make conversational forms on your WordPress site. But the problem is that they are a bit complex for newbies and too costly to use for new business owners. You can check what the Bit Form plugin is offering at this tiny price. None can offer such a premium at this cost. You can also check out the Bit Form plugin in WpHive. Plus, you can make a comparison between Bit Form and another form builder.
Dear WordPress enthusiasts! What an unforgettable experience it was! WordCamp Dhaka 2025 is over, and wow, what an amazing event it was! From beginning to end, the energy, excitement, and community spirit were truly awesome. Bit Apps was proud to be part of this grand event as the Lalbagh Legacy (Platinum) Sponsor of WordCamp Dhaka […]
Black Friday 2025 is finally here, and it’s the best time to give your WordPress website the upgrade it deserves with huge discounts! If you’ve been thinking about improving your site’s design, automating tasks, or adding more functionality, this is the perfect opportunity. This Black Friday, you can grab amazing deals on the best plugins, themes, and automation […]
Convert site visitors into your customers by these latest WordPress chat plugins. Among them one WordPress chat widget plugin is special and very cheap. Try it.
Cookie Consent
We use cookies to improve your experience on our site. By using our site, you consent to cookies.
This website uses cookies
Websites store cookies to enhance functionality and personalise your experience. You can manage your preferences, but blocking some cookies may impact site performance and services.
Essential cookies enable basic functions and are necessary for the proper function of the website.
Name
Description
Duration
Cookie Preferences
This cookie is used to store the user's cookie consent preferences.
30 days
Cookie Preferences
This cookie is used to store the user's cookie consent preferences.
30 days
This cookie is set by Cloudflare to help manage bot traffic and protect the website from malicious activity. It does not collect or store any personal data and is used solely for security and performance purposes.
Used by Google Analytics to determine which links on a page are being clicked
30 seconds
_ga_
ID used to identify users
2 years
_gid
ID used to identify users for 24 hours after last activity
24 hours
_gat
Used to monitor number of Google Analytics server requests when using Google Tag Manager
1 minute
__utmt
Used to monitor number of Google Analytics server requests
10 minutes
__utmb
Used to distinguish new sessions and visits. This cookie is set when the GA.js javascript library is loaded and there is no existing __utmb cookie. The cookie is updated every time data is sent to the Google Analytics server.
30 minutes after last activity
__utmc
Used only with old Urchin versions of Google Analytics and not with GA.js. Was used to distinguish between new sessions and visits at the end of a session.
End of session (browser)
__utmz
Contains information about the traffic source or campaign that directed user to the website. The cookie is set when the GA.js javascript is loaded and updated when data is sent to the Google Anaytics server
6 months after last activity
__utmv
Contains custom information set by the web developer via the _setCustomVar method in Google Analytics. This cookie is updated every time new data is sent to the Google Analytics server.
2 years after last activity
__utmx
Used to determine whether a user is included in an A / B or Multivariate test.
18 months
_ga
ID used to identify users
2 years
_gac_
Contains information related to marketing campaigns of the user. These are shared with Google AdWords / Google Ads when the Google Ads and Google Analytics accounts are linked together.
90 days
__utma
ID used to identify users and sessions
2 years after last activity
Clarity is a web analytics service that tracks and reports website traffic.